Also available in:
Photos are an important part of traveling! But sometimes the results can be disappointing when the photos don’t look like we imagined. Don’t worry, we have here 7 travel photography tips for you on how to improve your results. With these simple options, you will make better photos and make your memories even more vivid.
7 simple travel photography tips on how to improve your vacation photos
You don’t need to be a professional nowadays to take good travel photos. What you definitely don’t need is a super expensive digital camera with many different lenses that you carry around. The most important rule is: a good camera doesn’t automatically make good photos – a good photographer can also take a great photo with a simple smartphone.
But let’s find out together how you can simply improve your travel photos.
1. Learn to handle your camera
The best camera is useless if you can’t handle it properly. Learn the basic functions and familiarize yourself with photography. Terms such as aperture, shutter speed, or ISO value should not be foreign to you.
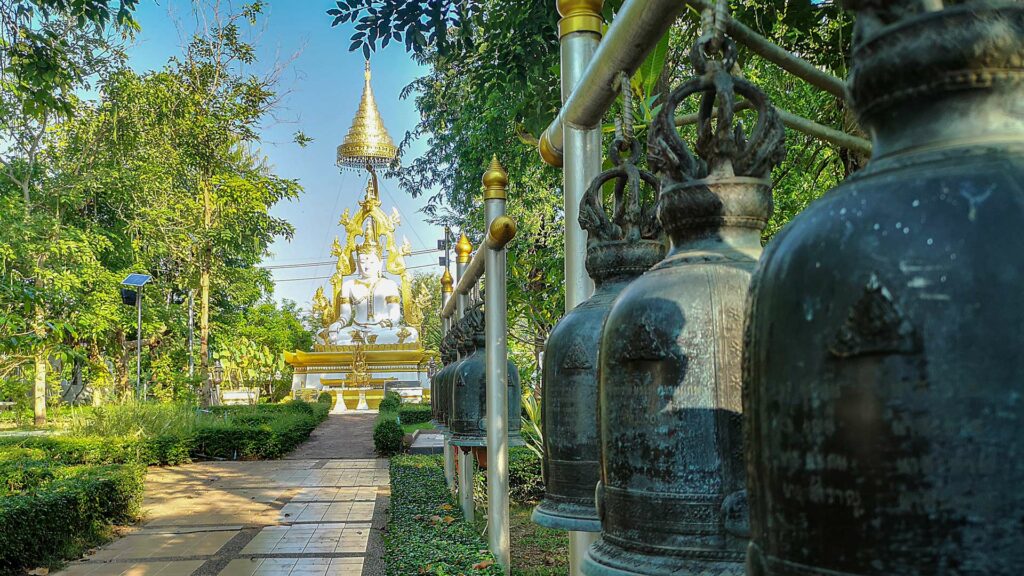
2. Horizons and the Golden Ratio
Two simple travel photography tips that you can implement. First: Develop an eye for photographing according to the golden ratio. Don’t just place objects in the center because it looks boring. Make it interesting and exciting! It may take a while for you to develop an eye for it, but with lots of practice it comes almost naturally with every photo.
A straight horizon is also important for a professional travel photo. Should it happen that the horizon is not 100% straight, it’s not a problem. Just grab a photo editing program and it can be fixed in a few clicks. You don’t even need professional software like Adobe Photoshop or Adobe Lightroom. Free tools like GIMP will do the job.
Many cameras (but also smartphones) offer options to turn on lines in the display to help with straight horizons. You can also use a grid to help you orient yourself better for the golden ratio.
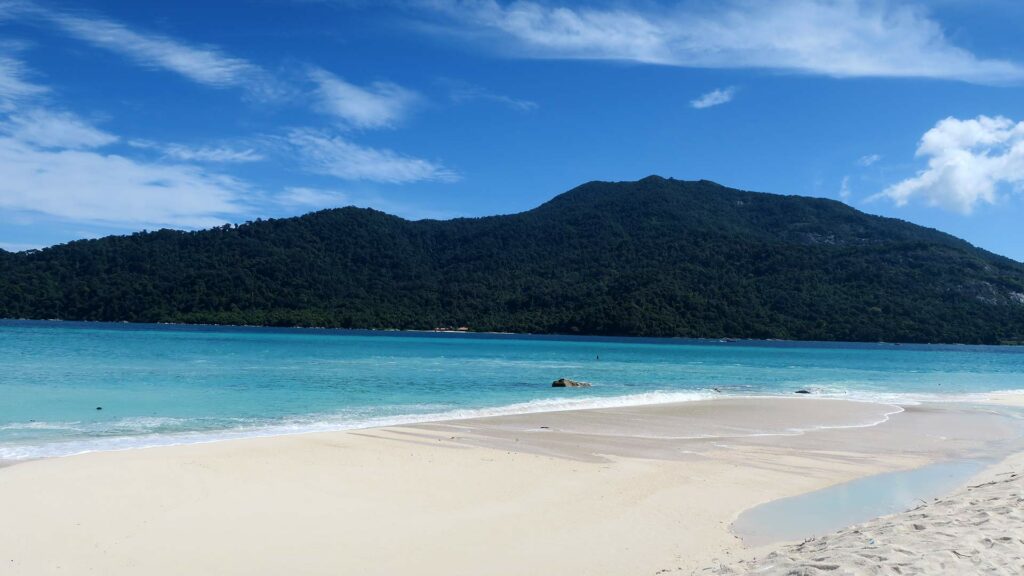
3. Objects in the foreground
Place an object in the foreground – this can work wonders and really enhance your travel photo. For example, if you’re photographing a tropical beach, see if you can get a palm tree or other trees/plants in the shot. Flowers that are shown out of focus in the foreground while the main subject is in focus are also very popular. Learn to know your aperture settings well.
A natural frame can also be used as a stylistic device sometimes, such as with trees, rocks, etc.
4. Good light is important
Light is one of the most important factors in travel photography. This tip is especially important. Simply photographing with the midday sun (even though this often provides the most beautiful water colors for beach scenes) is boring! Try the early morning light or even backlight. It can greatly enhance a photo if you photograph against the sun or use light from certain directions.
As always, practice makes perfect. Just take a look at some professional travel photos and pay attention to how the photographers use light. You’ll often find on the covers of travel magazines shots where the light was played with.
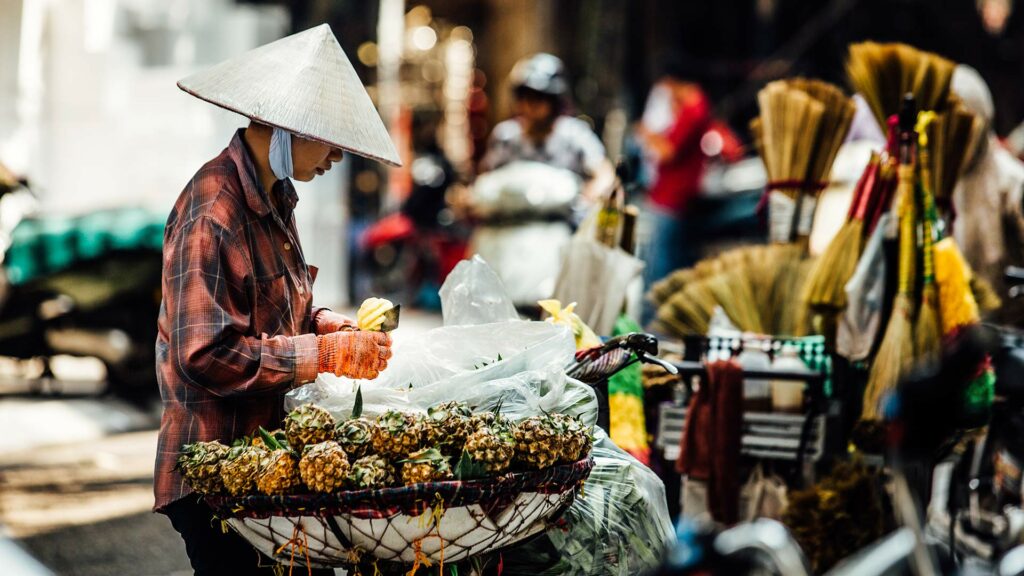
5. Incorporate people into your photos
People often make a travel photo really interesting – whether children, older people or locals in their traditional clothing. But before you start snapping away, ask politely first. We have often experienced in Southeast Asia that someone is photographed like an animal in a zoo. You probably don’t want to be photographed without permission either, right?
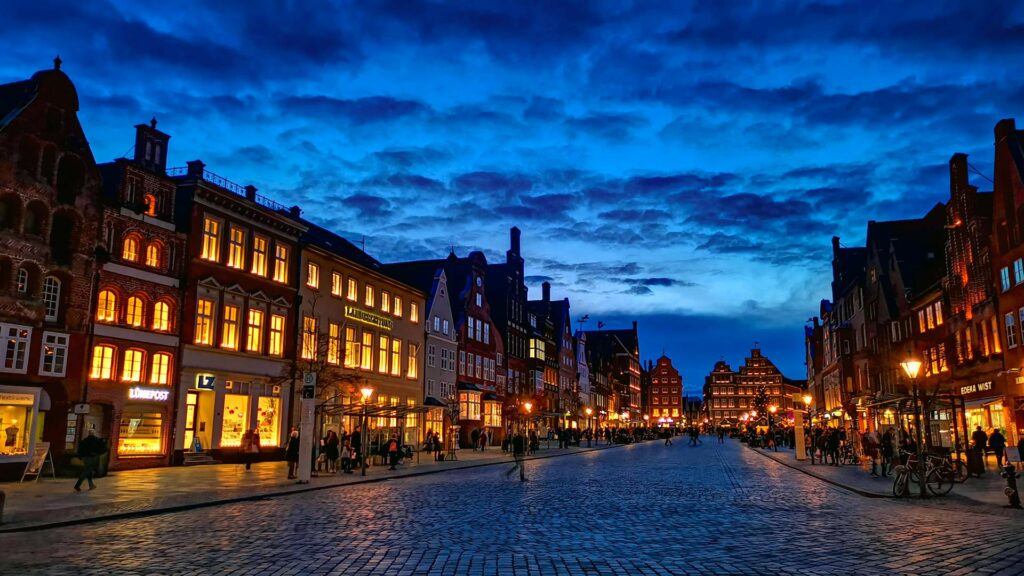
6. Use the “Blue Hour”
The so-called Blue Hour is a great opportunity to take interesting travel photos. This applies both to the big city and to natural motifs. The term Blue Hour refers to the period within the evening (but also morning) twilight, in which the darkness has not yet fully set in.
Depending on your camera/lens, you do not even need a tripod to take a nice photo during the Blue Hour. The following picture was taken handheld with my smartphone.
7. Post-processing and development
Our last travel photography tip is related to post-processing. As mentioned in point 2, there are programs with which you can post-process your photos in a good way. We ourselves work with Adobe Photoshop and Lightroom. For the latter, there is even a great app if you take photos with your smartphone.
And when you’ve finally edited your photos to your satisfaction – show them to friends and family! What could be better than displaying them in a photo book or even hanging a photo calendar in your apartment? A great gift idea – especially in times when everything is becoming more digital.
We hope our travel photography tips have been helpful to you. There are so many ways to improve your photos and maybe now you have some ideas on how to make your travel memories even more vivid and impressive. Remember that photography is also a matter of perspective. So, experiment and find out which angles and techniques work best for you and your style.
We wish you a lot of fun while taking pictures and hope you achieve great results!
Did our travel photography tips help you? What other tips do you have for better photos? Leave us a comment below – we’re curious!
Photos: Photo 3 (market vendor in Vietnam): vhpicstock/shutterstock.com